Crafting Your Own Vaping Experience: A Comprehensive Guide To DIY E-Liquid
Crafting Your Own Vaping Experience: A Comprehensive Guide to DIY E-Liquid
Related Articles: Crafting Your Own Vaping Experience: A Comprehensive Guide to DIY E-Liquid
Introduction
With enthusiasm, let’s navigate through the intriguing topic related to Crafting Your Own Vaping Experience: A Comprehensive Guide to DIY E-Liquid. Let’s weave interesting information and offer fresh perspectives to the readers.
Table of Content
Crafting Your Own Vaping Experience: A Comprehensive Guide to DIY E-Liquid
In the realm of vaping, the pursuit of personalized flavor and cost-effectiveness often leads individuals to the world of DIY e-liquid. This practice, involving the creation of one’s own vaping solution, offers a degree of control and customization that pre-made options may not provide. It allows for the exploration of unique flavor profiles, the precise adjustment of nicotine levels, and potentially, a more budget-friendly approach to vaping.
This comprehensive guide will delve into the intricacies of crafting your own e-liquid, providing a step-by-step approach that caters to both novice and seasoned mixologists. From understanding the essential ingredients to mastering the art of blending, this guide aims to empower individuals to create a vaping experience that truly reflects their personal preferences.
Understanding the Ingredients
The foundation of any successful e-liquid recipe lies in understanding the core components:
-
Base: The base forms the foundation of the e-liquid, typically a mixture of propylene glycol (PG) and vegetable glycerin (VG). These substances serve as the solvent and carrier for the other ingredients, contributing to the vapor production and throat hit.
- Propylene Glycol (PG): Known for its thinner consistency, PG offers a more pronounced throat hit and faster absorption into the body, making it ideal for users seeking a stronger sensation.
- Vegetable Glycerin (VG): VG is thicker and produces denser clouds of vapor, often favored by cloud chasers. It also carries flavor more effectively, resulting in a smoother, less harsh experience.
- PG/VG Ratios: The ratio of PG to VG is a crucial factor in determining the overall vaping experience. Higher PG ratios result in a stronger throat hit and faster absorption, while higher VG ratios produce more vapor and a smoother feel. The ideal ratio varies based on individual preferences and vaping hardware.
-
Nicotine: Nicotine is the addictive component in e-liquid, available in various strengths. It is crucial to select the appropriate nicotine level based on individual needs and tolerance.
- Nicotine Strength: Nicotine strength is measured in milligrams per milliliter (mg/ml). Higher mg/ml values indicate a stronger nicotine concentration.
- Nicotine Base: Nicotine is usually purchased in a concentrated form, typically 100mg/ml or higher. This concentrate needs to be diluted with the base (PG/VG) to achieve the desired nicotine strength.
-
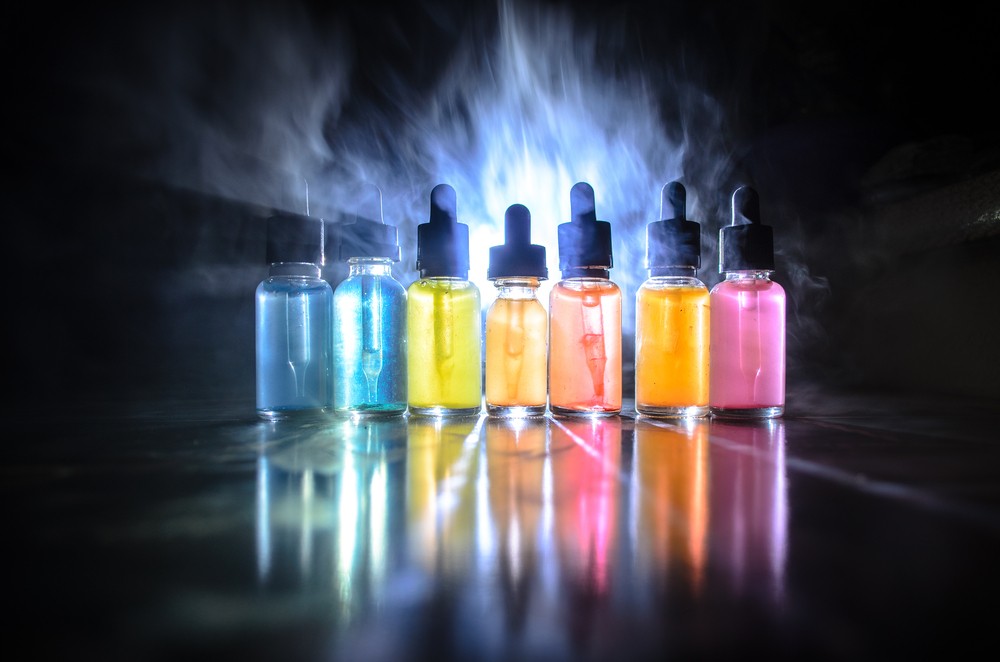
Flavorings: These are the key ingredients that impart the desired taste and aroma to the e-liquid.
- Flavor Concentrates: Flavor concentrates are highly concentrated extracts of various flavors, designed specifically for e-liquid mixing.
- Flavor Intensity: The intensity of the flavor is measured in percentages, typically ranging from 1% to 10%. Higher percentages generally result in stronger flavors.
- Flavor Selection: The world of e-liquid flavorings is vast and diverse, offering a wide array of options from classic tobacco and fruit flavors to more exotic and complex blends.
Equipment and Safety Precautions
Before embarking on the journey of DIY e-liquid, it is essential to have the necessary equipment and adhere to strict safety protocols:
-
Equipment:
- Mixing Bottles: These are essential for safely blending the ingredients. Glass or plastic bottles with secure lids are recommended.
- Syringes: Syringes are used for precise measurement of liquids, particularly nicotine and flavor concentrates.
- Scales: A precise digital scale is crucial for accurately weighing ingredients, especially nicotine.
- Gloves: Disposable gloves are recommended to protect hands from potential contact with nicotine.
- Protective Gear: Eye protection and a respirator mask are essential when handling nicotine and flavor concentrates.
-
Safety Precautions:
- Nicotine Handling: Nicotine is a highly concentrated substance and should be handled with extreme caution. Always wear gloves and eye protection when working with nicotine.
- Storage: Store all ingredients, particularly nicotine, in a cool, dry place, out of reach of children and pets.
- Proper Ventilation: Ensure adequate ventilation when mixing e-liquid, as some flavor concentrates can release volatile compounds.
- First Aid: Keep a first aid kit readily available in case of accidental exposure to nicotine or flavorings.
The Mixing Process: A Step-by-Step Guide
Once you have the necessary equipment and ingredients, you can begin the process of mixing your own e-liquid:
-
Calculate Your Recipe: Start by deciding on the desired PG/VG ratio, nicotine strength, and flavor profile. Use online calculators or mixing tools to determine the precise amounts of each ingredient required.
-
Prepare Your Workspace: Ensure your workspace is clean and well-ventilated. Wear gloves and eye protection.
-
Weigh Your Ingredients: Using a precise digital scale, accurately weigh the required amount of base (PG/VG), nicotine, and flavorings.
-
Mix Your Base: Begin by mixing the desired ratio of PG and VG in your mixing bottle.
-
Add Nicotine: Carefully add the calculated amount of nicotine to the base, using a syringe. Ensure the syringe is properly cleaned and free of contaminants.
-
Add Flavorings: Add the measured amount of flavor concentrate to the mixture.
-
Shake Well: Seal the bottle tightly and shake vigorously for at least 30 seconds to ensure the ingredients are thoroughly mixed.
-
Steep Your E-Liquid: After mixing, it is essential to allow the e-liquid to steep for a period of time to allow the flavors to meld and mature. Steeping can range from a few days to several weeks, depending on the complexity of the flavor profile.
Tips for Successful DIY E-Liquid
-
Start Simple: Begin with basic recipes using a single flavor concentrate before venturing into more complex blends.
-
Experiment with Flavors: Don’t be afraid to experiment with different flavor combinations and ratios. The possibilities are endless.
-
Record Your Recipes: Keep a detailed record of your recipes, including the ingredients, ratios, and steeping time. This will allow you to recreate your favorite blends and track your progress.
-
Store Properly: Store your finished e-liquid in a cool, dry place, away from direct sunlight and heat.
-
Safety First: Always prioritize safety when handling nicotine and flavor concentrates.
FAQs
Q: How long does it take for DIY e-liquid to steep?
A: Steeping time varies depending on the complexity of the flavor profile. Simple blends may require a few days, while more complex recipes may benefit from steeping for several weeks.
Q: Can I add different flavors to my e-liquid?
A: Yes, you can add multiple flavors to your e-liquid. Experiment with different combinations to create unique flavor profiles.
Q: How do I adjust the nicotine strength of my e-liquid?
A: Adjust the amount of nicotine concentrate you add to your base, using a precise scale and syringe.
Q: Can I use DIY e-liquid in any vape device?
A: It is important to select an e-liquid with a PG/VG ratio that is compatible with your vape device.
Q: Is DIY e-liquid safe?
A: When prepared correctly and using high-quality ingredients, DIY e-liquid can be safe. However, always prioritize safety by handling nicotine and flavor concentrates with care.
Conclusion
Crafting your own e-liquid offers a rewarding experience, allowing you to tailor your vaping experience to your unique preferences. From exploring novel flavor combinations to achieving the perfect nicotine strength, the world of DIY e-liquid opens up a realm of possibilities. By understanding the essential ingredients, mastering the mixing process, and adhering to safety precautions, individuals can embark on a journey of personalized vaping, creating e-liquids that truly reflect their individual tastes and aspirations.


Closure
Thus, we hope this article has provided valuable insights into Crafting Your Own Vaping Experience: A Comprehensive Guide to DIY E-Liquid. We hope you find this article informative and beneficial. See you in our next article!
Leave a Reply